Jazz Month and International Jazz Day: Part Three – Jazz Solos on Orff

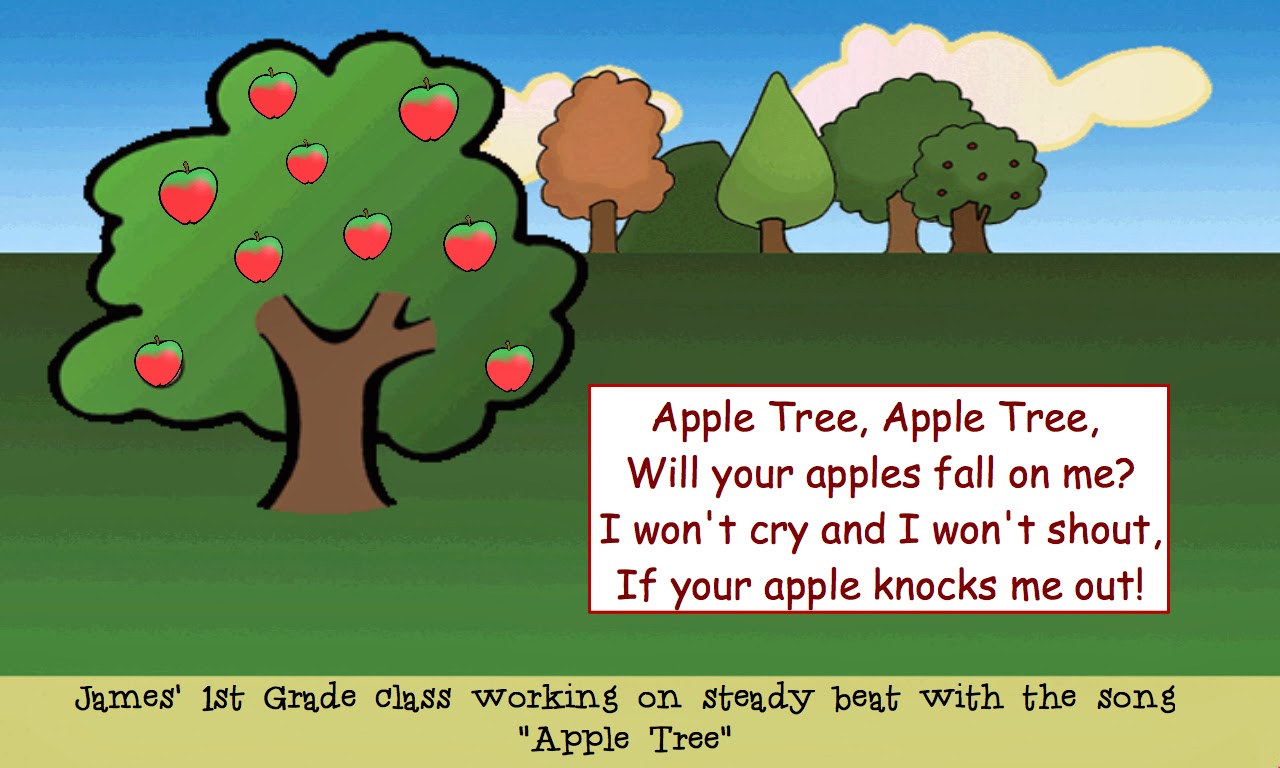
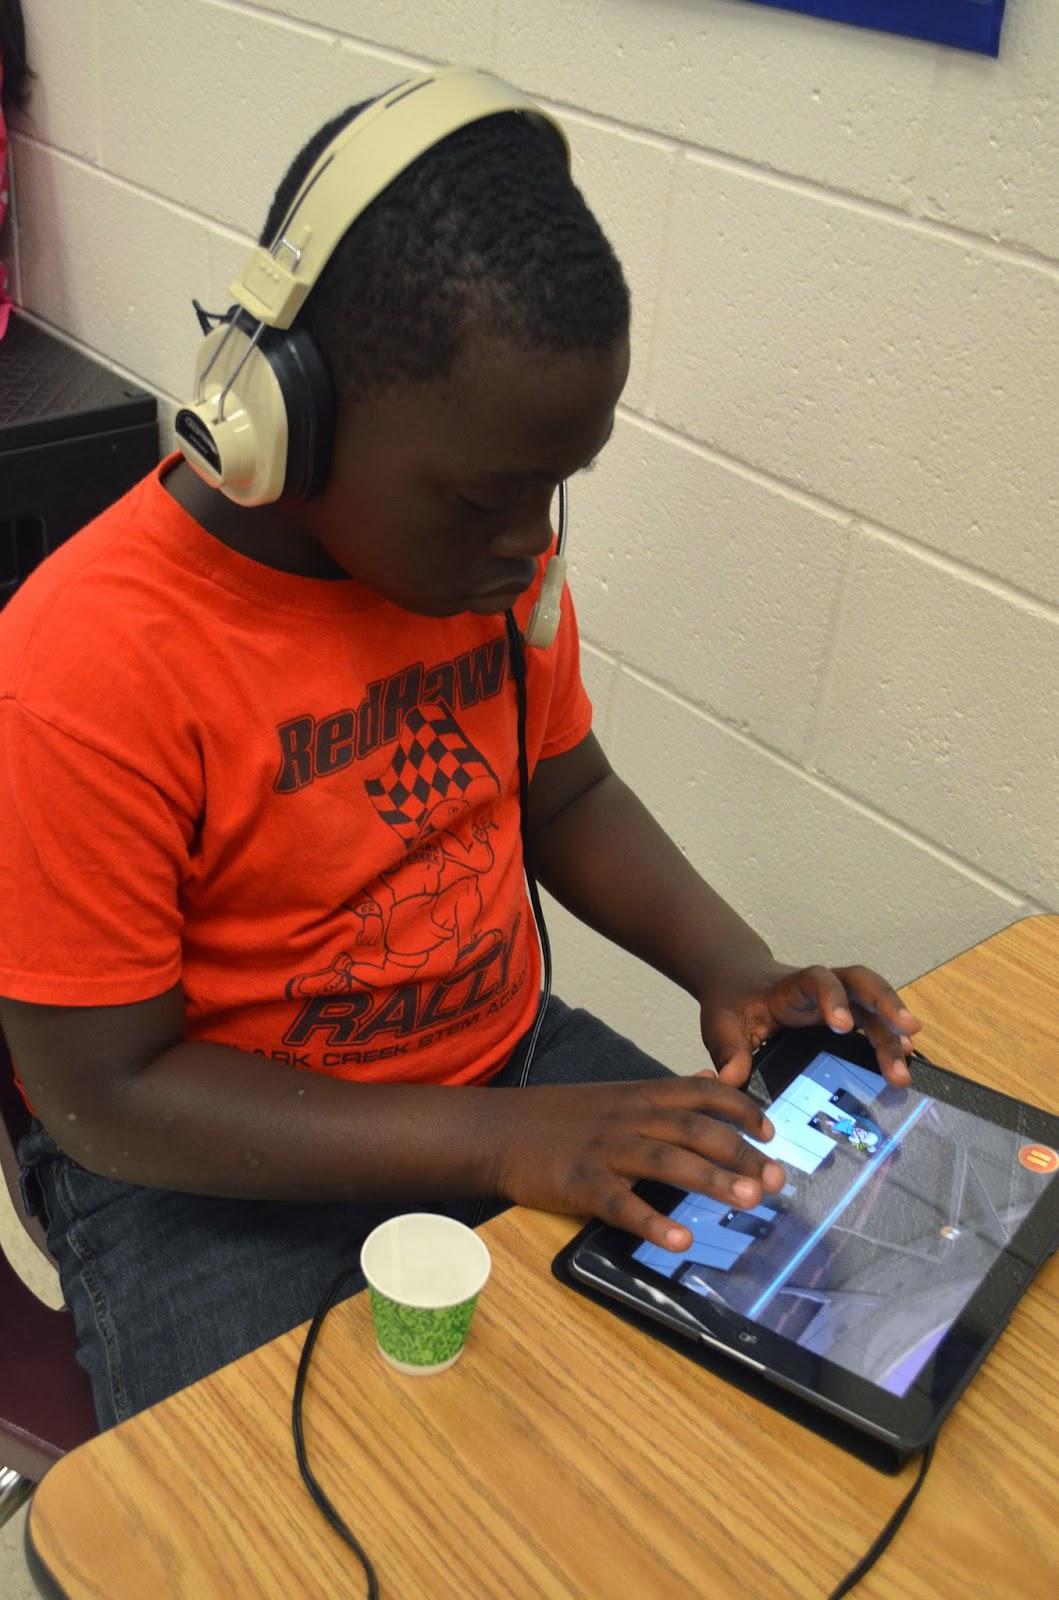
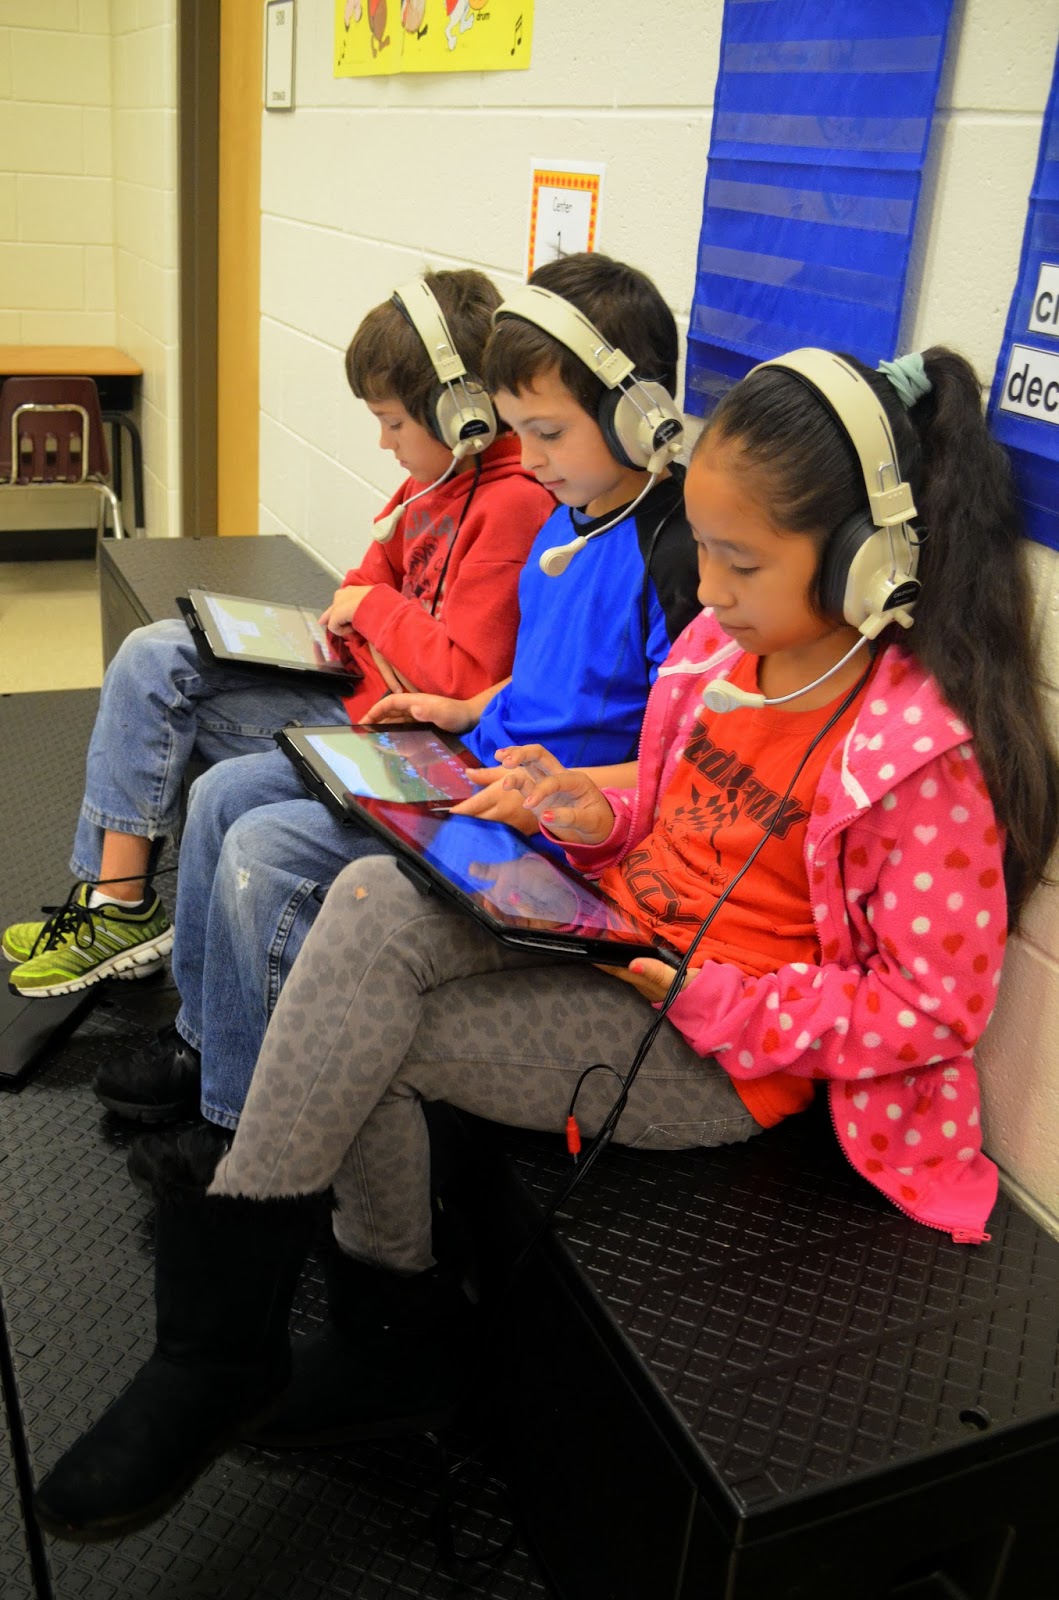
In my final 2014 International Jazz Day post, I want to share a way to get your students participating in jazz instead of only consuming jazz.  Jazz is truly a participation sport and its only when people start allowing jazz to pulse through them that they start to appreciate and enjoy jazz music.

There is no better way to internalize jazz music than through improvisation.  At the heart beat of jazz, improvisation is the way individuals take ownership of the music and start making it “their own” (sorry for the overly used cliche).  Many people are intimidated by improvisation but with the right tools, improv can be fun and liberating.  Surprisingly, even very young students can be successful improvising!

Improvising on Orff with the Blues Scale

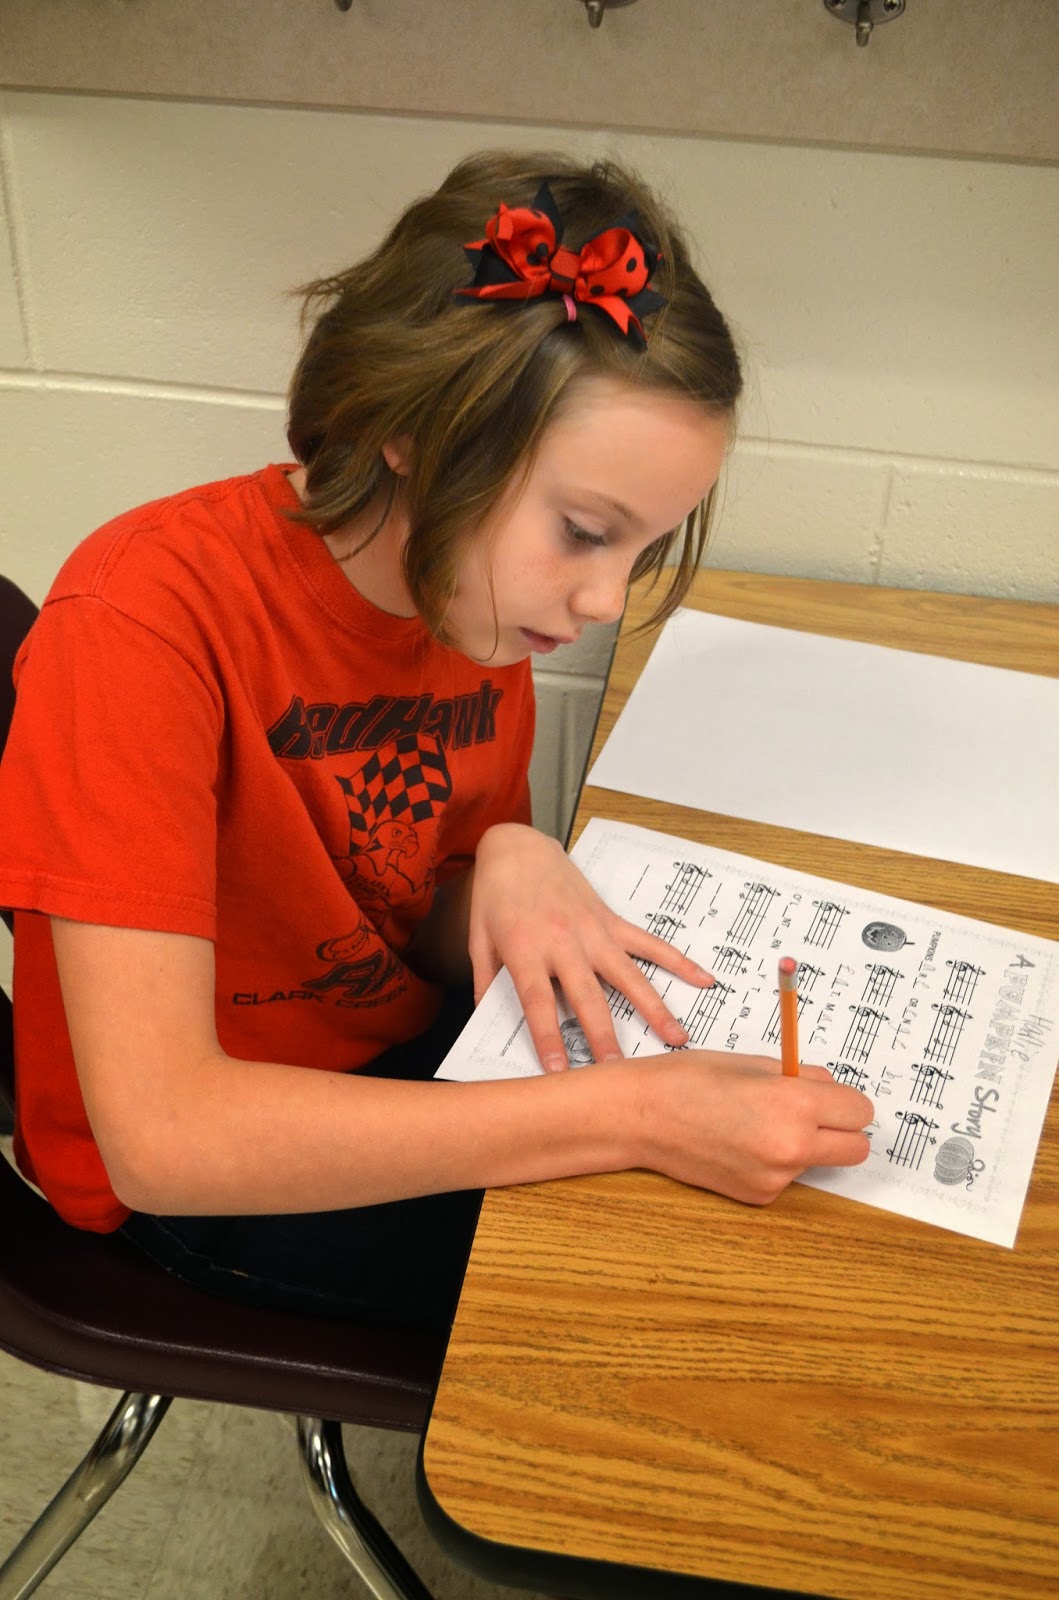
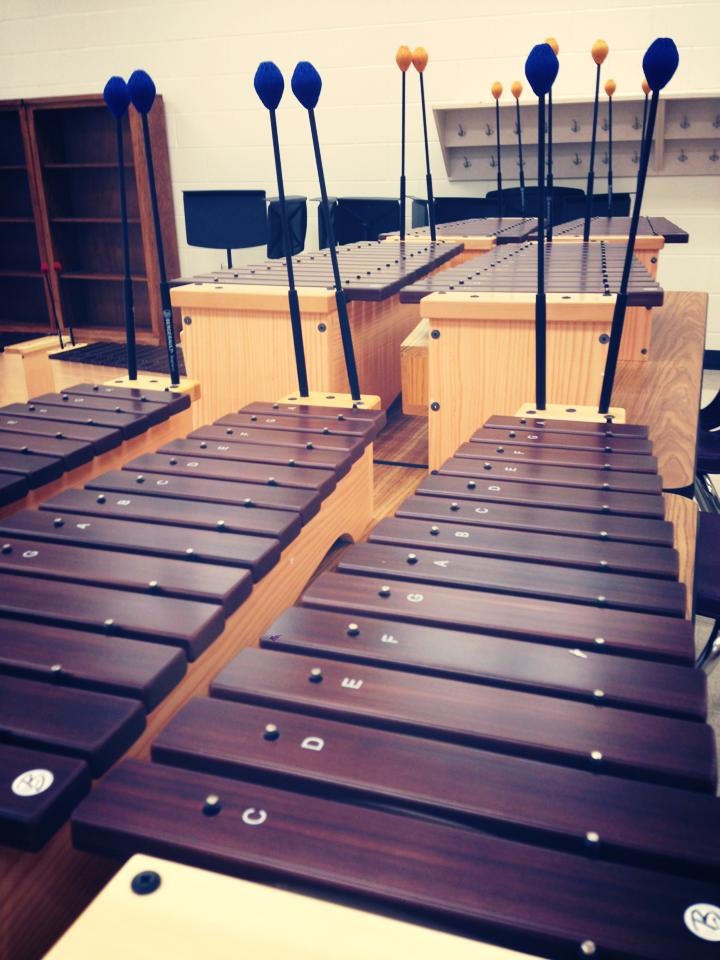
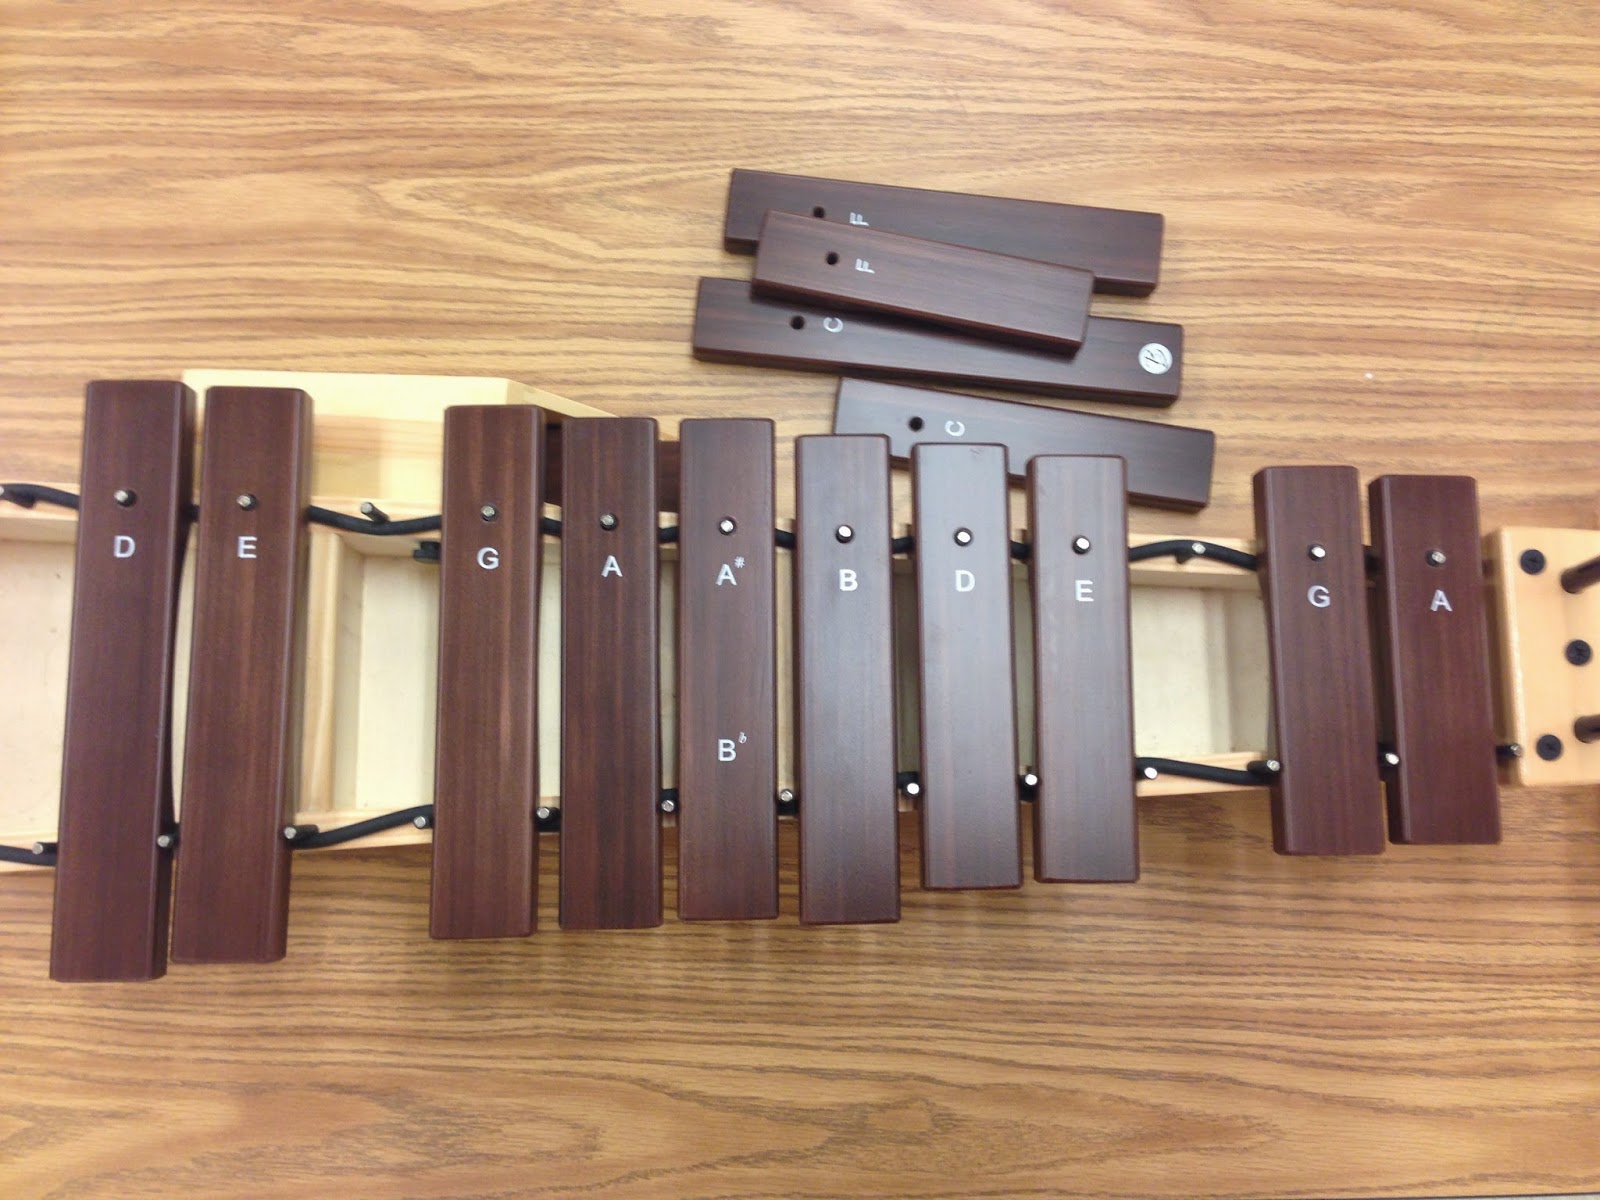
I got a new set of Orff instruments at the beginning of the school year and am absolutely in love!  For Jazz month, I have set up the instruments in the E Blues Scale, which is the key that works best on the Orff instruments.

Lesson Progression for Improvising a Jazz Solo:

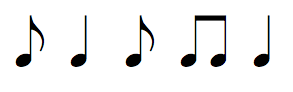
  • Before we ever go to the instruments, we echo-sing short jazz rhythms using swing eighths – I use the ascribe to the Gordon rhythm syllable system so I use

“du-de du-de du-de du” 
and “du-de…de du-de du.” 
I make sure that I sing them in swing-eighth style with the first eighth longer than the second, almost as if it were a dotted-eighth-sixteenth figure.  You could do the same if you use the Kodaly ta-ti-ti method
  • Next, I spend some time discussing the Blues scale with my students and listening to and playing the notes in the scale. 
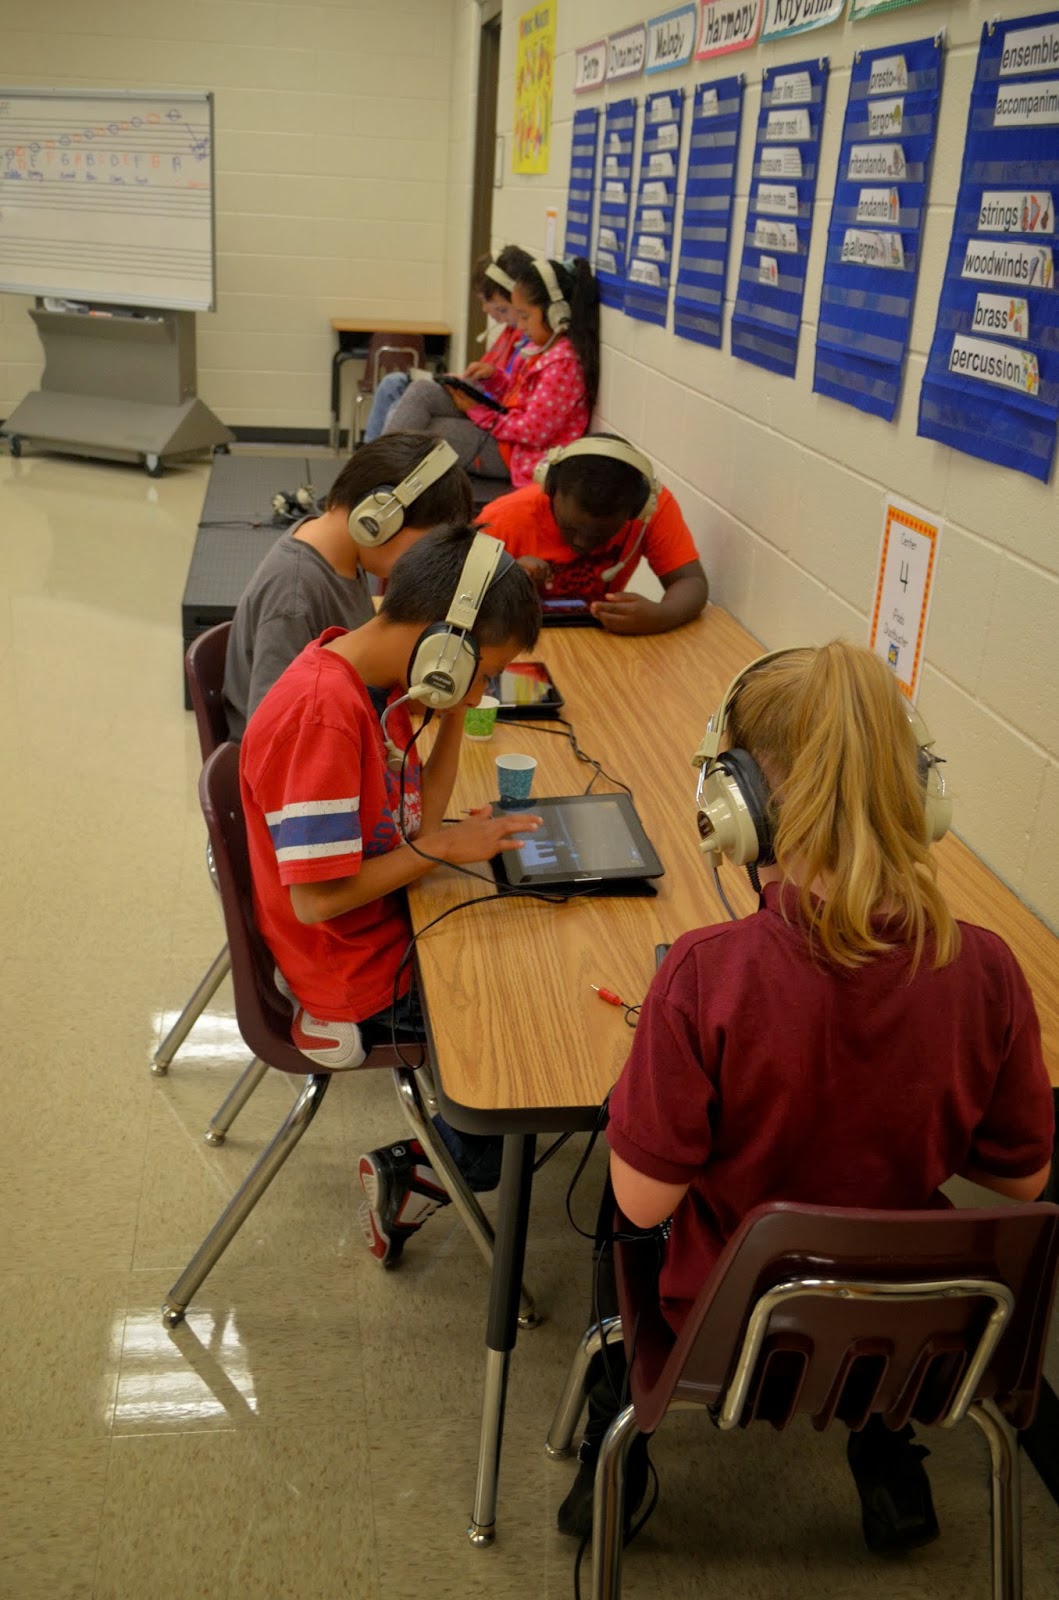
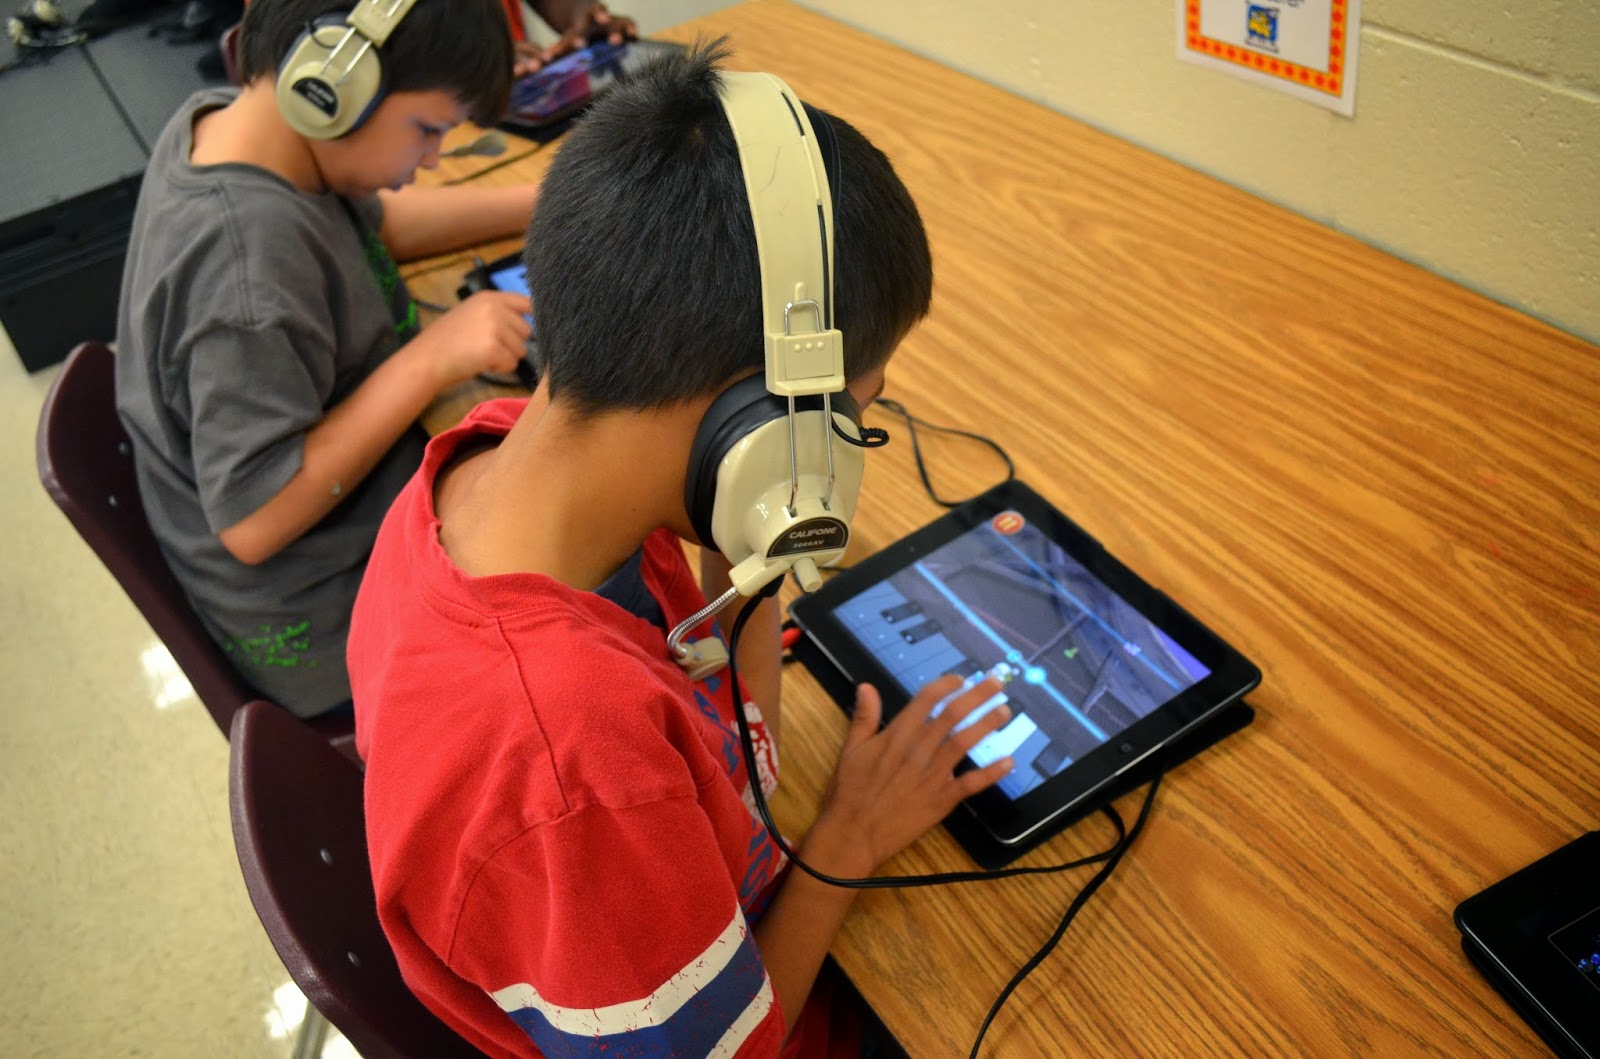
  • Send students to instruments or set students at instruments depending on the number of instruments you have (rotations and pairs are great when you have more students than instruments).  Echo-sing/play rhythm patterns – teacher sings and students play after (echo).  For younger kids, I have them echo on whatever they pitch they want in the E Blues scale but they have to play my rhythm.  For older students, you could make it more challenging by singing pitch names that they have to echo on their instrument with correct rhythm and pitches.  For example, using the first rhythm above, sing “E D E G A G E” and the students play it back to you.  We do this to give the students the melodic and rhythmic building blocks to use in their own improvised solos later.  This step is essential to having successful improvisation.  
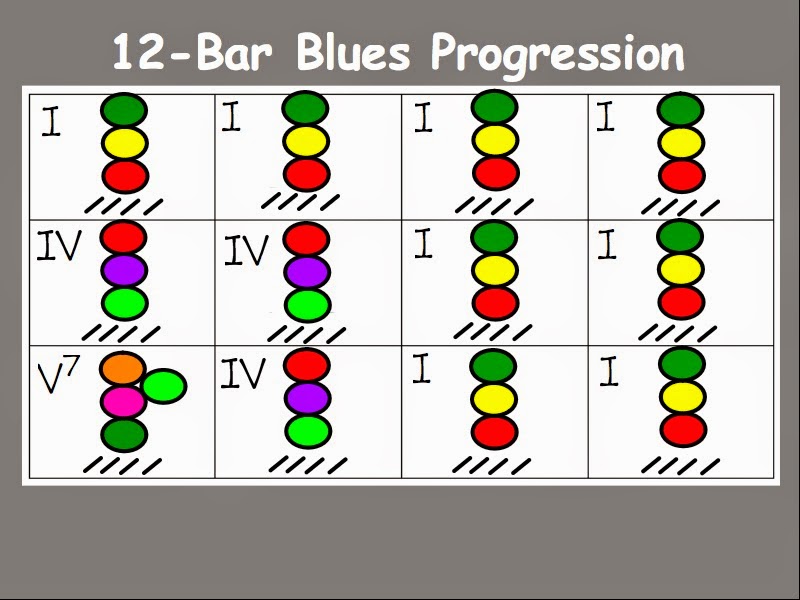
  • Using an E Blues backing track, like this one or this one, demonstrate improvising a solo on the E Blues scale for 12 bars.  
  • Divide students into small groups (it works best with 2-4 students).  Each small group gets one 12-Bar progression to improvise a solo.  This is beneficial for students to have time to experiment and experience without the pressure of playing alone.  Students feel more free to play when they are not isolated. 
  • Allow all students to have a chance to play in small groups.  
  • Repeat the improvisation 12-bar progression activity but with volunteer solos.  As the end of the 12-bars draws near, students raise hand and the next volunteer is chosen.  I never make anyone perform a solo.  If you allow it to be voluntary, eventually all students will want a chance to improvise alone.  Making someone solo at the elementary level who is not comfortable with it could cause irreversible anxiety in the future!!!
Here’s what the final product could look like. 

NOTE: These are 5th grade students who worked on this lesson for a total of about 20 minutes before this video was shot.  You can see how little time it takes and how quickly students feel comfortable and successful with this activity.  I have done this activity with as young as 1st graders although I do not have any video evidence of it!  (Mental note, video 1st graders!!)

This is Part Three of a Three-Part Series.  Here are the other articles in this series:

Jazz Month and International Jazz Day: Part Two – 12-Bar Blues Progression

Yesterday I posted some resources, including the Chuck Vanderchuck PBSKids website, for teaching Jazz at the elementary level.  Jazz is truly an American art form and although it is a world-wide phenomenon now, it started here in the Southern United States.  I am proud to be an American and as an American music teacher, I owe it to my students to expose them to jazz, as it is the grandfather of most current American music (country, rock and roll, pop, etc.).

Jazz is by nature a participatory art so I like to get my students interacting and making music as much as I can.  One of my favorite ways of getting students to participate in making jazz is playing the 12-Bar Blues progression.

12-Bar Blues

I know that technically the 12-bar blues is from “the blues” but the progression is also used in a lot of jazz tunes as well.  It is a great way to get kids participating in jazz without knowing so much of the music theory required to play good jazz.  You can choose any piece that uses the standard 12-Bar Blues Progression for this (I use “Good Mornin’ Blues” or “ABC Blues” from the Silver-Burdett Making Music Textbook Series from the 2nd Grade and Kindergarten books respectively.  I’ve also used Chuck Berry’s “Johnny B Goode” recording)

We start by counting the boxes in the graphic below and discuss that each box represents one “bar” or measure in music.  The black hashes represent the 4 beats in each measure.  Then we discuss roman numerals and what I, IV, and V mean in roman numerals (1, 4, and 5).  We practice saying the chord numbers as we pat the beat for each bar (1, 1, 1, 1, 1, 1, 1, 1….4, 4, 4, 4, 1, 1, 1… you get the idea).

Then we discuss that each roman numeral represents a chord in music.  We define chords as 3 or more notes played at the same time and that each chord has different notes in it and each chord sounds unique.

I typically use only the keys of F and C to talk about the 12-Bar Blues because that is most accessible for my instruments.  The two graphics above are colored with Boomwhacker colors – the key of C uses only diatonic Boomwhackers; the key of F one uses chromatic Boomwhackers (if you have only diatonic Boomwhackers, just leave the B-flats out – you still get the same chordal effect without them).
I pass out Boomwhackers and then build each chord – only the students who have the corresponding color can play in each chord.
Then we play the 12-Bar Blues Progression with the song we sung earlier (like “Good Mornin’ Blues” or “ABC Blues”) as we sing along.  The Boomwhackers play 4 sounds per bar when their color appears.  The kids love this and really get into it.  Even my littlest Kindergarten friends are relatively successful with this and have so much fun.  We usually allow enough time to switch Boomwhacker colors at least once so that no one gets stuck only playing 4 times in the whole progression (sorry 3rd scale degree friends!!).

I have also played the progression with students on resonator bellshand bells, and even Orff instruments.  You can adapt that charts above to color code as you need them or simply do B&W with note names for Orff instruments.

All of the Above Charts and Images Can Be Downloaded as a ZIP File (bmp, PDF, and ActivInspire formats) for FREE from my Dropbox Account HERE!!!

This is Part Two of a Three-Part Series.  Here are the other articles in this series:

Jazz Month and International Jazz Day: Part One

Happy National Jazz Month 2014.  I know I am super late to the party this year but I thought its better late than never.  I have some awesome jazz resources I want to share for National Jazz Month and best of all, they’re F R E E ! ! !

Just in case you didn’t know about National Jazz Month, it happens every year during April and is sponsored by National Association for Music Educators (NAME), the Smithsonian National Museum of American History, and a plethora of other jazz partners.

Here are some links and resources to check out:

Smithsonian Jazz at the National Museum of American History

Jazz April 2014 – A project of the Jazz Journalists Association

International Jazz Day – April 30

Jazz: A Film By Ken Burns (PBS)

Jazz Corner: A Great Resource for Jazz Musicians

PBS Kids used to have a great Kids Jazz club that they discontinued.  I was terribly disappointed when I discovered this.  However, they replaced it with a new series that is pretty ok, not great, but not bad.  It is flash-based, so I cannot use it on my iPad lab but it works ok as a class activity on the Interactive Whiteboard.

CHUCK VANDERCHUCK at www.pbskids.org/chuck

He actually covers many styles and genres of music.  You can choose which style and there are games and activities to explore that genre.  Here are some screenshots so you can see what how accessible it is to kids.

I like the “Lyrical Solarium” and the “What Sounds Like What” activities.  They are good experiential and listening tasks for kids in large-group type settings.  Or if you have access to classroom computers or a computer lab, it could be a great whole-group computer lab or center activity.

I have tons more resources coming down the pike.  Stay tuned for the rest of this series….And keep it jazzy, my friends!!

This is Part One of a Three-Part Series.  Here are the other articles in this series:

Royalty-Free, Public Domain Clip Art

Clipart created using CLKER and PicCollage

Happy Valentine’s Day, everyone!  As my gift to you, I wanted to share with you two of my favorite source for graphics and clipart that I use for my printables and products.

CLKER

from Clker.com


www.clker.com
is a royalty-free, public domain source for clip art.  What is so cool about this site is that the images are created by the users using vector designs.  You could actually create your own vector illustrations using this site to share with others!


The sheer volume of clipart available on this site is pretty incredible.  It is the first place I always go when creating my products, maybe because I am cheap, maybe because I am resourceful, maybe because I am lazy!  I’m not sure what is true but I do know that I love this site!!!

PICCOLLAGE

I also love the free app for iPhone, iPad, and Android called PicCollage.  Its also free and its great for creating your own images.  I use this app more for things like above, for “catch” images.  Its a great app.  Check it out!!

Created Using PicCollage

Winter Olympics 2014 Music Class Activities

I confess….I am an Olympics-addict.  I love the Summer Games, I love the Winter Games, I love any of the Games.  I feel like as soon as the last Games ends, I am counting the months until the next one.  Has anyone else figured it out it is a much longer wait from the end of the Winter Games to the beginning of the next Summer Games (usually 26-28 months) than the end of the Summer Games to the next Winter Games (usually only 18-20 months difference)?  Crazy, huh?
Anyway, besides the friendly competition and the obscure sports (who loves curling? Me!), I also love the music.  The Olympic Games are known for some excellent musical traditions, from the opening and closing ceremonies as well as the lovely John Williams’ compositions we know so well.  One of my favorite albums of all time is Summon The Heroes that I bought the summer of the ’96 Olympics in Atlanta.  As an Atlanta native, the 96 Summer Games were a SUPER HUGE deal to my family and I and we did it all – pin trading, Centennial Olympic Park, Underground Atlanta, and even some events.  We actually got to go to a lot of tennis as we lived 2 miles from the tennis complex (which I might add is now sadly torn down and paved over….sniff).
 
Anyway, I digress.  Back to the music….I love John Williams’ and I especially love him as a music teacher because I can focus on an American composer instead of always talking about the white-haired European ancients (no offense, Beethoven and Mozart…we love you too!).

Olympic Fanfare and Theme

With the 2014 Winter Olympics starting tonight, I thought I would share my lesson using the Olympics as the theme.
We start with listening to the John Williams’ version of “Olympic Fanfare and Theme” with the listening question below posted on the board:

Most hands will immediately shoot up.  At that point we discuss the Olympics.  And where they’re being held right now.  

Then we discuss John Williams and what an important composer he is for American music and especially film music.  

Then we compare and contrast Williams’ and Arnaud’s versions.  As a little aside, I did a bunch of research because I was very confused.  But here’s the deal, Leo Arnaud, a French-American composer wrote “Bugler’s Dream”(which we know as Olympic Fanfare) in 1958 for Felix Slatkin’s album, Charge.  John Williams’ used Arnaud’s piece as material for his version commissioned for the 1984 Los Angeles Summer Games.  Williams released an updated version for the Summon The Heroes album for the 1996 Atlanta Games.  That’s why the two pieces sound almost the same; however, Williams’ piece is obviously more complex and more orchestral and thematic.  I prefer for music class to use Arnaud’s version because the form is more accessible.  Anyway, we listen to the two versions. 
 Then we use Arnaud’s version to create movements for the corresponding formal sections of the piece.  There are some distinct tempo changes in the piece which is great since we are already working on tempo in most of my classes and we can reinforce that concept here.  

I didn’t include all the form listening slides in order as that would make this post WAAAAYY TOOOOO LOOONG!  So below is a link to a download that includes all the slides in PowerPoint format as well as both JPEG and PDF format.  Also included in that download is a printable poster of John Williams to hang on your “Composer of the Week” poster – you have one, right?  

Russian Folk Dance

Since the 2014 Winter Games are in Sochi, Russia, this is also the perfect time to pull out one of my favorite folk dances.  “Sasha” is a traditional Russian folk dance that has been recorded and arranged by the Amidons of the New England Dancing Masters.  Their materials are EXCELLENT and I totally recommend ALL of their books and CDs.  However, “Sasha” happens to be one of their two free dances available on their website.  They have the sheet music and a FREE mp3 download – can’t beat free, can you?  This dance is magical and I have had great success with various grade levels with this dance.  I actually like to teach this dance much slower than the recording for the success of the learning process.  Then we can speed it up when we feel confident.  That allows me to reinforce tempo concepts (adagio, moderato, allegro) as we practice.  Plus, the kids keep getting more and more excited as we continue to speed up the music.  So fun!  I have made various tempo versions of the mp3 from their website for your use in your classroom.  I don’t think the Amidons will mind as I have given them credit for it and am offering it for free.  

Augmented Reality with Aurasma: Part Two


So earlier this week I started a series of posts on Augmented Reality in Education using Aurasma.  If you didn’t catch post one, read it first before continuing on!

Now that you’ve read up on Part One, step two is actually creating your own trigger images, overlays, and auras!!  Woohoo!

I had this privilege this morning of presenting iPads in the Classroom: Tips and Tricks for Effective Implementation at the 2013 Georgia Educational Technology Conference.  It was an awesome experience!  I was nervous, excited, and inspired all at the same time.  I feel blessed by the opportunity to share a little of my experience with technology with other educators.

Part of my presentation was on Aurasma.  I created a quick reference guide for creating an account, channel, trigger images, overlays, and auras using Aurasma for my conference.  This perfect timing to also share it with you!  So please download the two handouts below and start creating your own Auras!

Augmented Reality with Aurasma: Part One

Augmented Reality is not a new concept, but the concept in education is one that is blowing up in schools.  I discovered this concept this fall while perusing my Pinterest boards.  Mrs. Dennis over at Music with Mrs. Dennis posted an amazing Augmented Reality tutorial featuring an app called Aurasma.  Her tutorial post is thorough, thoughtful, and applicable not only for the music room but education in general.

I am not attempting to create a tutorial since she has already done such an amazing job!  You should read her blog post first before continuing on here….so click it and read!  Then come back!

READ THIS FIRST!!!!

Ok….so now that you’re back, here are some things I have learned, discovered, and done with this App.  My school, Clark Creek Elementary STEM Academy, was recently the first stop on the Georgia Partnership for Excellence in Education (GPEE) Bus Tour.  I posted about this experience yesterday.  Read up on that too!

As a part of the bus tour, we provided groups of our tour members with iPads equipped with Aurasma so at they toured, they were able to experience Augmented Clark Creek Reality around our school.  There were probably 30-40 Auras around our school.  It was a huge hit and people were totally blown away with this “new” technology.


So you can see what I am talking about, follow these directions….

  • Use your mobile device (iPad, iPhone, iPod Touch, Android phone, tablet) and download the free App Aurasma.  (the purple”A” up there is the app icon – look for that image to make sure you download the correct app)
  • Once inside the application, slide through the tutorial and skip the account set-up if prompted (you can create an account later which you will want to do!)  Select the “A” aura button to bring up the menu.  
  • Using the Spotlight tool (looks like a magnifying glass), search for Clark Creek STEM.  Our channel is the one with the RedHawk.  Select our channel and then select “Follow” and “Like” to follow and subscribe to our channel auras.  

  • Return to the viewfinder in the app by selecting the broken square to the left of the viewfinder.  
  • You can now use the camera scanner to view some auras.  Let’s try some.  Hold your Aurasma viewfinder over the following images.  

If you saw videos pop up on top of these “trigger images,” then you did it correct!!  Congrats!   

Stay tuned for Part Two of my Aurasma posts to give you more tips and suggestions for using this amazing technology for educational purposes!  If you want to make your own auras, please refer to Mrs. Dennis’ awesome tutorial over at Music with Mrs. Dennis

GPEE Bus Tour 21 Visits Clark Creek

So I have not posted anything for a while now, because I have been so busy with my school!  We have been preparing for the Georgia Partnership for Excellence in Education Bus Tour 21.  We were nominated last year and it is a huge honor to represent public education for the state of Georgia.  The Bus Tour stopped here yesterday at Clark Creek Elementary STEM Academy and the visit was a huge success!  My chorus performed for the visitors before they departed.  We also had between 50 and 60 visitors come through the music room to see how we do what we do in music.  It was awesome!  Below is a tweet from the Georgia Partnership featuring my chorus students!!

Here are some additional pics of the activities going on in the music room for the bus tour…..

Treble Clef Pitch Practice – FREE GIVEAWAY!!!

There’s a new product at my TpT store and one I think you will want!  Here’s a little preview for you…

Spelling Words with Treble Clef Pitches

  • Flashcards – 24 flashcards premade with music notation and words.  These can be printed single- or double-sided for multiple variations on this game
  • Blank Staff – for putting objects (marbles, stones, seasonal erasers like pumpkins, bingo chips, or even candy!) onto the staff to spell the words
  • Small Group, Individual, Pairs, or Large Group Applications – students can quiz each other, students can create their own words with the treble clef pitches, teachers can quiz students, practice can be done on just putting the “notes” (objects) onto the correct lines and spaces.  Directions included!  The possibilities are limitless!!!

Here’s a little contest to win this product….for FREE!!!  If you want this product, you have 3 chances to win….
  1. Go “like” my Facebook page.  Then come back here and comment that you liked my Facebook page.
  2. Become a Follower on my TeachersPayTeachers page.  Then come back here and comment that you became a Follower. 
  3. Subscribe to my Newsletter at the top right of this blog. Then come back here and comment that you subscribed. 
Each individual comment is an entry to win.  On Friday, I will choose 3 comments at random to win this product for FREE!!  Woohoo!!  Have fun and good luck!  

A New Year and New Orff Instruments!

We’re back at it for another school year!  This year is my 10th year teaching and I am so excited for what this year holds.  This is my second year at Clark Creek STEM Academy and our second year open!  We will be the first school on the Georgia Partnership for Excellence in Education Annual Bus Tour where 140 dignitaries from the community and educational leadership will visit our school.  Very exciting times!

The most exciting part of this school year is the addition of a full Orff instrumentarium from Peripole-Bergerault.  My PTA and school fundraised our rear-ends off last school year and raised enough dough to get the full set!  My dreams are coming true!  
It was tough to teach an entire school year with no Orff instruments, as I have taught with them and have been trained in Orff pedagogy since I started teaching.  I definitely believe I am a better teacher for last year as it forced me out of my comfort zone and made me really explore new ways of teaching the same concepts and music.  
However, now that I have my lovely instruments, we are using them daily, all day long, from the little Kindergarten friends all the way to the Fifth graders.  Since I am not sure of the experience level of my students (I only taught a small percentage of my current students at my old school, most of the 900 students were new to me last year), I am spending time working on building a foundation of good mallet technique.  I believe if my students are going to be successful with Orff, they need to first start with fundamental techniques.  Then the instrumental world will open up to them and we can play anything we want!

Mallet Madness

My go-to method for building mallet technique is Artie Almeida’s Mallet Madness.  Technique is built through games and activities and explores hands together vs. alternating, counting and rhythm, following a conductor, high vs. low, as well as tons of other book and song related activities.  I highly recommend this book and cannot speak of it high enough.

Music For Children: Keetman and Orff vs. Tossi Aaron

I also love the Schulwerk by Karl Orff and Gunild Keetman.  These volumes are essential for any music teacher using the Orff instruments.  The UK editions (the “yellow books”) come in 5 volumes and are the “true” editions, according to Orff-Schulwerk teachers.  However, I am particularly fond of the American edition by Tossi Aaron, which comes in 3 volumes.  That may be sacrilege to many Orffians but I find the American editions, suprisingly, to be more appropriate for American children!  Imagine that!  Either way, read them, teach them, use them!

Last but not least, I would like to share a link to an article the embodies the idea of Orff-Schulwerk, which is taking the ideas of the Schulwerk and adapting them to your classroom setting, situation, and most importantly, the ideas of your students.  Remember, the students are the music makers and they are to take ownership of the music to the point that they are creating their own ideas!

Stay tuned this year for some of my own Orff arrangements and other Orff resources!  I have some great ideas about to break loose!